Create Application via Portal
Overview
In StackSpot, an Application is any source code that implements business rules or infrastructure as code (IaC). IaC, or Infrastructure as Code, refers to managing and provisioning cloud resources through code.
Applications are developed within Workspaces using tools such as Plugins, Stacks, Starters, or available Workflows. These tools make solution development and delivery faster and simpler.
For example, in a bank, an Application could be a system for managing checking accounts, including features such as balance inquiry, transfers, statement generation, and bill payments. This approach ensures a complete and efficient experience for customers.
In StackSpot, you can create Applications in two ways:
- STK CLI
- StackSpot EDP Portal
To create an Application, use a Stack together with either a Starter or a Workflow.
You cannot create an Application using a deprecated Starter.
Below is a step-by-step guide to creating Applications in the Portal using Workflows.
Prerequisites
- Be logged in to a StackSpot account.
- Access a Studio.
- Have a Stack and a Starter.
- Have environments created.
- Have deployment via Self-Hosted configured to set up and connect environments in your Cloud Account.
- Have SCM (Source Code Management) configured. This configuration must be completed by the person responsible for administering your account.
- If your account is Enterprise and the administrator decides that users should manage SCM access individually using a PAT (Personal Access Token), you must configure it in External Connections.
If you do not meet any of the prerequisites above, pause this guide and access the link for the pending requirement before continuing.
Create Application Through the StackSpot Portal
Follow these steps:
Step 1. Log in to the StackSpot EDP Portal.
Step 2. Select the 'Create' button and choose the 'Application' option.
- If the administrator of your account has not configured SCM (Source Code Management), you cannot continue. For more information, see the Configure SCM section.
- If the administrator of your account requires that users manage SCM access individually using a PAT (Personal Access Token), you must configure it in External Connections.
Step 3. Choose the Workspace where you want to create the Application.
Step 4. Follow these steps:
- Select a Stack to create the Application.
- Select the Stack version.
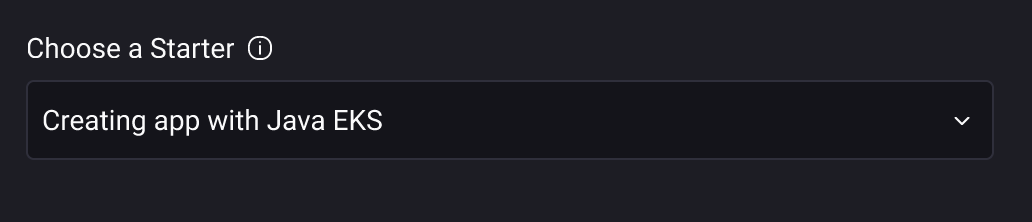
- In Select a Starter, you can choose between Starters or Workflows. To use a Workflow, select the options labeled with Creating App with.
Step 5. On the 'Application Details' screen, provide your Application information:
- Name: Maximum limit of 60 characters.
- Description: Enter a brief description of your Application.
Select the 'Next' button.
Step 6. On the 'Configurations' screen, complete all required form fields. The fields may vary depending on the selected Workflow.
Select the 'Next' button.
- During the process of creating an Application using a Workflow, you cannot add new Plugins to the Application. You can add and apply new Plugins after creation.
- If you have questions, see the documentation for the Stack, Starter, or Workflow you are using.
- If there are already configured contexts, some or all variables may be filled automatically. You cannot edit variables marked as mandatory.
Step 6.1. (Optional) If you have an Extension configured in your workflow.yaml file and you selected a Starter with a create-type Workflow, fill in the fields with the data for the Extension you want to add to your Application.
Step 7. Review your Application information. Select the 'Edit' button to make changes if needed.
Step 8. Select the 'Run' button to push the Application to the repository.
You have now created an Application via the StackSpot EDP Portal.
- When you create the Application through the Portal, it is automatically registered in the Workspace.
- The infrastructure deployment of the Application only occurs at this point if your organization has configured deployment via Runtime Self-Hosted.
- Deploy the Application using your pipeline and register the deployment in the StackSpot EDP Portal. This allows you to monitor logs within the Activities screen.
For more details, see the Application Deployment Registration section.
Track the Application Creation Workflow Execution
After selecting 'Run', you are redirected to the Application creation Workflow tracking screen (Create App). On this screen, you can view and monitor all jobs and steps of the Workflow directly in the platform.
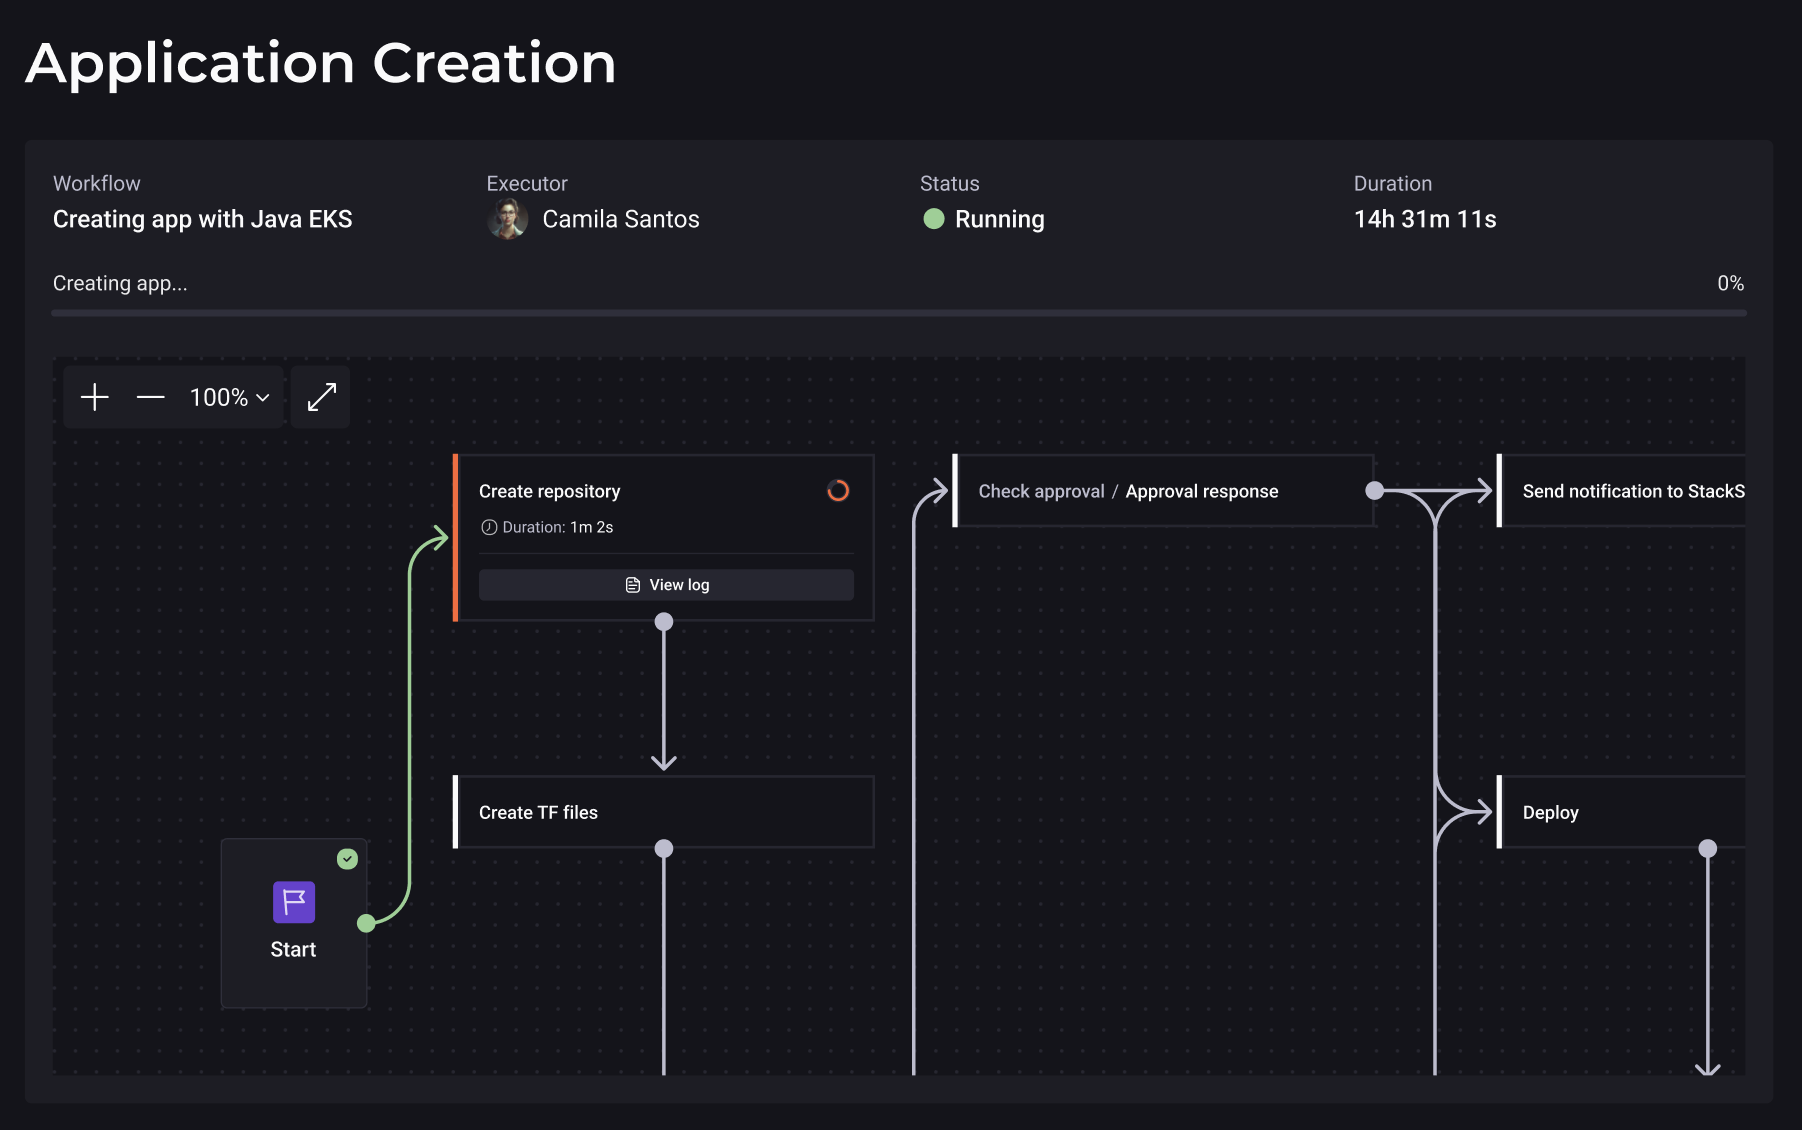
- Jobs and steps are interactive.
- To access logs, select "View log" for the relevant Workflow step.
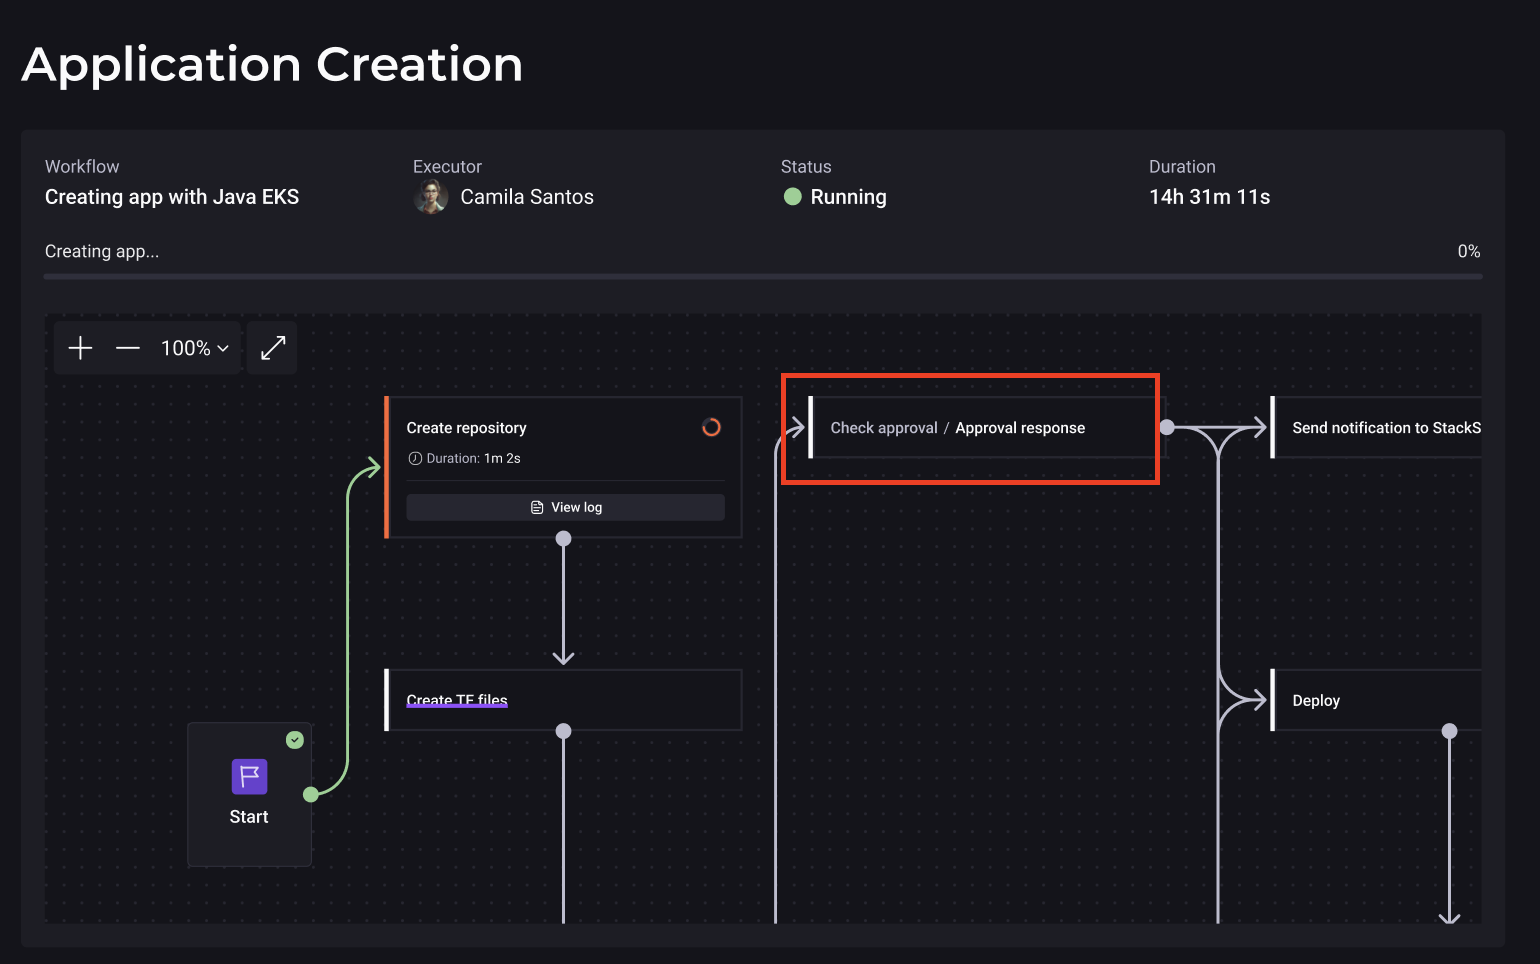
Workflow Step Approval
Some Workflows include approval steps, which you must accept for the Application deployment to proceed. These steps appear on the Workflow tracking screen with statuses such as "Check Approval" or "Approval Response".
EHow to Approve
Approval must be performed by a person with approval permission in the Workspace. This person must access the Application Workflow tracking screen and accept the required approval steps.
A Workflow may include multiple approval steps. Each step must be accepted individually for the Workflow to advance to the next stages.
Execution Details
After creating the Application, you can track the execution of your Workflow steps visually. In addition to the step-by-step display, a section titled Execution Details lists each Workflow step, for example:
- Downloading CLI
- Installing CLI
- Logging into StackSpot
If any Workflow step is paused, execution is interrupted and resumes after approval, showing updated details. When Application creation finishes, the 'Execution Details' section closes automatically.
Next Steps
- Register your Application deployment via pipeline
- Manage and monitor your Application
- To destroy your Application, see instructions in this section