Create and deploy an App
In this section, you will learn how to use App and Infrastructure Plugins to create and deploy an Application with StackSpot.
For more details on Application creation, see the Applications page.
Introduction
Level: Beginner
This guide will help you create and deploy an Application using the StackSpot STK CLI.
You will need:
- The HTML Stack from the App Plugin example page
- The S3 CloudFront Stack from the Infra Plugin example page
These stacks are required to create the Application and its deployment infrastructure.
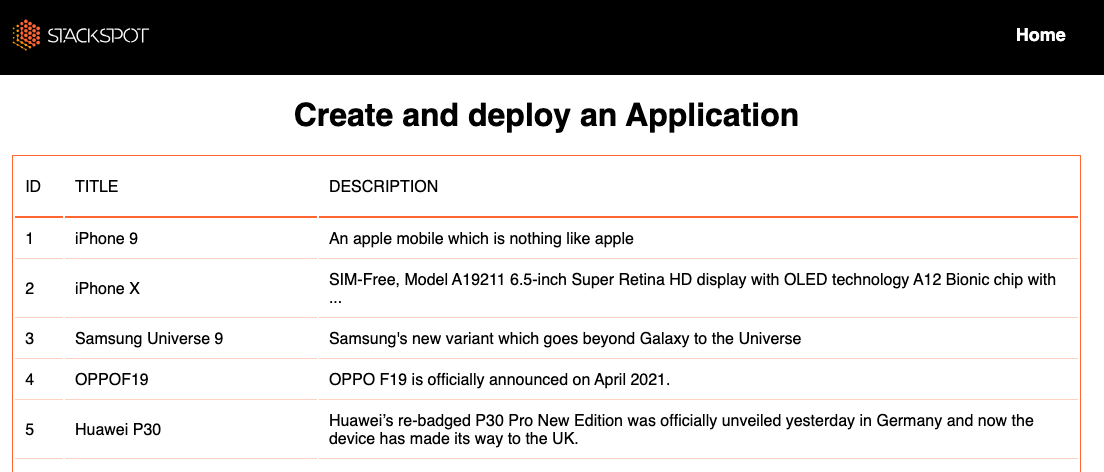
- The HTML Stack contains App Plugins that generate an HTML page with embedded tables.
- The S3 CloudFront Stack includes Infra Plugins to build the infrastructure needed to make your HTML content accessible.
Follow the steps below to complete the process.
Before You Begin
To follow this example, you will need to:
- Generate two App Plugins to create an HTML page with embedded tables. See the App Plugin example page.
- Create a Stack and a Starter using the App Plugins from the same example.
- Create two Infra Plugins to deploy the HTML page. Follow the Create Infra Plugins example.
- Create a Stack that includes the Infra Plugins from the Infra Plugins example.
- Add all Stacks to a Workspace to create, register, and deploy the Application using StackSpot.
Prerequisites
- Create a StackSpot account
- Ensure you have permission to use content
- Install STK CLI
- Log in to your account using the STK CLI:
stk login
Step 1. Create an Empty Project Directory
Open your terminal and run:
mkdir demo-html
Open this directory in your preferred IDE, such as Visual Studio Code.
Step 2. Create the Application
- Access the Workspace where you added the Stacks you created in the previous steps.
In your terminal, run:
stk use workspace
Select the Workspace you want to use.
You can only register and deploy an Application within a Workspace.
To create the Application, use the Starter from the HTML Stack. Run:
stk create app name-of-the-app studio-name/stack-name@stack-version/starter-name
For example:
stk create app demo-html studio-name/demo-html@0.0.2/demo-html-starter
If your Workspace has only one Stack and one Starter, they will be selected automatically.
Answer the questions in the STK CLI as shown below:
? Name your Application: demo-html
? Do you want to init a git repository? No
? App description: Base web application
? Select the Studio: (select where you published the Stacks)
? Select the Stack: html-stack
? Select the version of the Stack: 1.0.0
? Select the Starter: html-starter
? Title of the HTML page (Training - StackSpot): Demo - App

> Applying plugin main-studio/dummy-json-plugin@0.0.1

? Name of the table that will be generated (product-list)
? Table columns separated by ';' (ID;TITLE;DESCRIPTION)
? Table attributes separated by ';' (id;title;description)
Done! You have successfully created the Application
demo-html.
Step 3. Register Your Application in the Workspace
To register your Application and make it available in StackSpot:
-
Enter your project directory:
cd demo-html -
Confirm you are using the correct Workspace:
stk use workspace -
Register the Application:
stk register appAnswer:
? Repository URL: enter your repository URL? Base branch: main
To verify that your Application was added to the Workspace:
- Access the StackSpot EDP Portal
- Go to your Workspace.
- Click Applications.
- Confirm your Application is listed.
Step 4. Add Infra Plugins to Your Application
To deploy your Application, make sure it includes the required Infrastructure Plugins. This guide assumes you are using the Plugins created in the Create Infra Plugins Guide.
-
List available plugins:
stk list plugin -
Copy the path to the
s3-cloudfrontStack to apply the Plugins. -
First, apply the S3 Plugin to generate the Connection Interface required by the CloudFront Plugin:
stk apply plugin infra-demo/s3-cloudfront-stack@0.0.1/bucket-s3-pluginExample syntax:
stk apply plugin studio-name/stack-name@stack-version/infra-plugin-nameAnswer the questions:
? Name the connector for 'bucket-s3-plugin-conn (aws-s3-conn)': demo-app-s3-conn? Type the name of your bucket: demo-app-s3-example -
Now, apply the CloudFront Plugin:
stk apply plugin studio-name/s3-cloudfront-stack@0.0.1/cloudfront-pluginAnswer:
? Choose a connector for 'aws-s3-conn (bucket-s3-cloudfront-conn)': demo-app-s3-conn (local)? Type name of your resource: Client? Choose http method of new endpoint: GET
If you see multiple options for the connector, you can choose which Connection Interface in the Workspace to use for that infrastructure.
When you apply a Plugin, the stk.yaml file will be updated with the Plugins used in the project.
Step 5. Deploy Your Application's Infrastructure
You can only deploy if you have:
To deploy your Application’s infrastructure, run:
stk deploy app -v app-version -e environment-name -w
Where:
-vis the Application version.-eis the environment where you want to deploy.-wfollows the deployment status in real time.
Deployment status will be recorded on your Application’s page in the StackSpot Portal.
Step 6. Check Your Application’s Project
This step takes place in your Cloud account (e.g., AWS).
- StackSpot provisions the resources in your AWS account (bucket, CloudFront, etc.).
- The bucket will be empty at first.
- In CloudFront, you will see the created resources, but no files have been published yet.
To upload files to your new bucket, use the AWS CLI:
aws s3 sync . s3://demo-app-s3-example --delete --acl public-read
- Use the URL from your AWS bucket to see your HTML page:
Check your application's infrastructure deployment details in the StackSpot Portal.
Conclusion
Congratulations! You have created an Application and deployed its infrastructure using StackSpot.