Configure a Context in your Account
In this section, you will find the steps to configure a Context in your Account.
To create Applications or Infrastructures within a Workspace, developers use the available Stacks. When using these Stacks, it is possible to configure the input values of their contents, such as Plugins, Actions, and Workflows.
As an Account or Workspace Administrator, you can predefine the input values for the contents (Plugins, Actions, and Workflows) of the Stacks. This standardizes values and speeds up the developers' work when creating an Application, since they only need to accept the predefined values instead of configuring each input. This process is called Context configuration or definition.
Ways to define input values
You can define input values in three ways:
- As mandatory: the values will be required and immutable.
- As suggestions only: the values will appear predefined, but developers can edit them if needed.
- By environment: you can set input values according to the environment, such as Dev, QA, or Prod. These values can also be mandatory or just suggestions.
Context configuration levels
Contexts can be configured at two hierarchical levels:
-
Account: when configuring Contexts at the Account level, mandatory values must be used at the Workspace level. Suggested values can be changed.
-
Workspace: when configuring Contexts at the Workspace level, you must use the mandatory values defined in the Account Context. However, suggested values can be changed and set as mandatory for Application creation.
Thus, when creating an Application within this Workspace, the developer can configure only suggested values or those not set in any Context.
Prerequisites
- Have Account Holder or Account Admin permission to continue.
- Have Stacks created in your Account;
- Have Environments configured in your Account;
Steps
Step 1. Access the Account Portal;
Step 2. Click the 'Organization' option;
Step 3. Now click on 'EDP', then click the 'Stacks' button;
Step 4. Select the Stack you want to configure Inputs for;
Step 5. Configure the inputs of the Stack's contents as Contexts. To do this, go to the tab corresponding to the content you want to configure, such as 'Plugins';
The process for configuring inputs for Plugins, Actions, and Workflows as Contexts is the same for all content types.
Step 6. Select the Plugin you want to configure input values for;
Step 7. Click an Input field, enter the value, and define whether it will be mandatory or not, as shown below:
- Check the 'Mandatory' checkbox to make the value required and immutable; or
- Leave unchecked to make it a suggestion only.
Step 8. If the Input offers this option, you can also set the value by environment, as shown below:
-
Enable the 'Set value by environment' button, enter values for each environment, and define if they are mandatory or not by checking the checkbox.
-
Leave the 'Set value by environment' button disabled.
Step 9. You can choose to use an Account Variable to fill in the input value. To do this, click the 'Use Variable' button and select one of the available variables from the dropdown list in the input field;
If the value was not set as mandatory when creating the variable, you can change it and also set it as mandatory at the Account Context level.
Step 10. After configuring all Inputs for this Plugin, click the 'Save' button;
Done, you've configured the input values of your Stack's contents for your Context.
See an example of Context configuration
- Scenario
In a company, a StackSpot Account Admin needs to configure a Stack with an Infra Plugin for AWS Secret Manager to manage, retrieve, and rotate database credentials, API keys, and other secrets.
To do this, the Admin needs some Secret Manager parameters to always be the same throughout Application creation for the company.
- Solution
To ensure developers use the same input parameters when creating Secret Manager Applications within the Workspace, the Admin needs to configure an Organization Account-level Context with these inputs:
- Mandatory inputs: these values cannot be changed by developers;
- Suggested inputs: value suggestions that can be changed by developers.
So, in this hypothetical scenario, the Admin needs to follow these steps:
- Access the Account menu;
- Access the Secret-Manager-Demo Stack;
- Inside the Stack, access the Infra Plugin Secret-manager-dois.
If you have both Account and Workspace Contexts configured and neither is set as mandatory, the Workspace Context will prevail.
If the Account Context was set as mandatory during initial configuration, it cannot be changed at Workspace level. In this case, the Account Context always prevails and only changes if you update it.
To configure the Context, you need to set these Plugin input values:
Feature name: microservice name;Microservice name: microservice name;Owner team email: owner team email;Tech team email: developer responsible for Secret Managers;KMS key Arn: ARN of the KMS key associated with the secret;Environment: environments such as Dev, QA, and Prod;Region: region.
The values for Feature Name, Microservice name, and Owner team email can be suggestions only. However, if you need to ensure that the same engineer is always responsible for all Secret Managers, set this value as Mandatory.
The values for KMS key Arn, Environment, and Region are variable depending on each situation. Therefore, they will not be suggested or set as mandatory.
Result
After this configuration, when a developer accesses the Workspace to create an Application using the Secret Manager Stack, they will find:
- Suggested values already filled in but editable by developers (Dev);
- Mandatory values already filled in and not editable;
- Values not configured can be changed.
This configuration reduces developer workload, since they do not need to fill in all input fields. It also ensures that responsibility for Secret Managers remains with a single person.
Repeat this process with inputs from other contents—Plugins, Actions, or Workflows—if you want to configure them as Context.
Rules for filling in Context inputs
-
You cannot set an empty (no value) input as mandatory.
-
Input of type
list: if you set this input as mandatory, all items in the list will also be required. You cannot change anything at lower levels than Account—not values nor item order. -
Input of type
object: when checking "Mandatory," only object fields you fill in will be mandatory. Fields left empty can be changed.In Application or Infrastructure creation flows, users must fill in object fields not previously configured.
-
Input of type
listcontainingobject: if you set a list of objects as mandatory, the list order cannot be changed and new items cannot be added at Workspace level. However, fields inside objects can be changed. To make them mandatory, fill in each field. During Application or Infrastructure creation, users cannot add or remove items from the main list but can fill in missing fields inside objects that were not previously configured. -
Input of type
required-connection: at Account level it is not possible to define Context because there is no guarantee that Connection Interface is visible to all Accounts. However, at Workspace level you can define whether Connection Interface is mandatory or not.
Set Context values using Account Variables
You can choose to use an Account Variable to fill in an Input value. To do this:
- Click on the 'Use variable' button in the Input field;
- Select one of the available Variables from the list.
If a value was not set as mandatory when creating the Variable, you can change it and also set it as mandatory at Account Context level.
Automatically update Context values
To configure Contexts, Plugin and Action input values are set according to Stack version. Each version may have different input values.
So if someone publishes a new version of a Stack added to your account, you must configure its Context again. You can do this automatically by simply importing values from a previously configured Stack version.
Only the field name is imported between Stack versions because it is the only common field between versions. That means you need to configure Context for new inputs such as user and port, for example.
When a Workflow runs, Plugin Context is not considered—the main Workflow's Context always applies since child Workflow or other component Contexts executed inside it are ignored.
When adding a new version of a Stack to your Account, a notification appears on your Dashboard letting you know you can import Context from previous versions. To import:
Step 1. Access your Account and click on 'Stacks';
Step 2. In the Dashboard notification or in the Stack, click the 'Import Input Settings' button;
Step 3. Select which Stack version you want to import Context from;

It's recommended to select the version recommended by StackSpot.
Step 4. Click the 'Import' button.
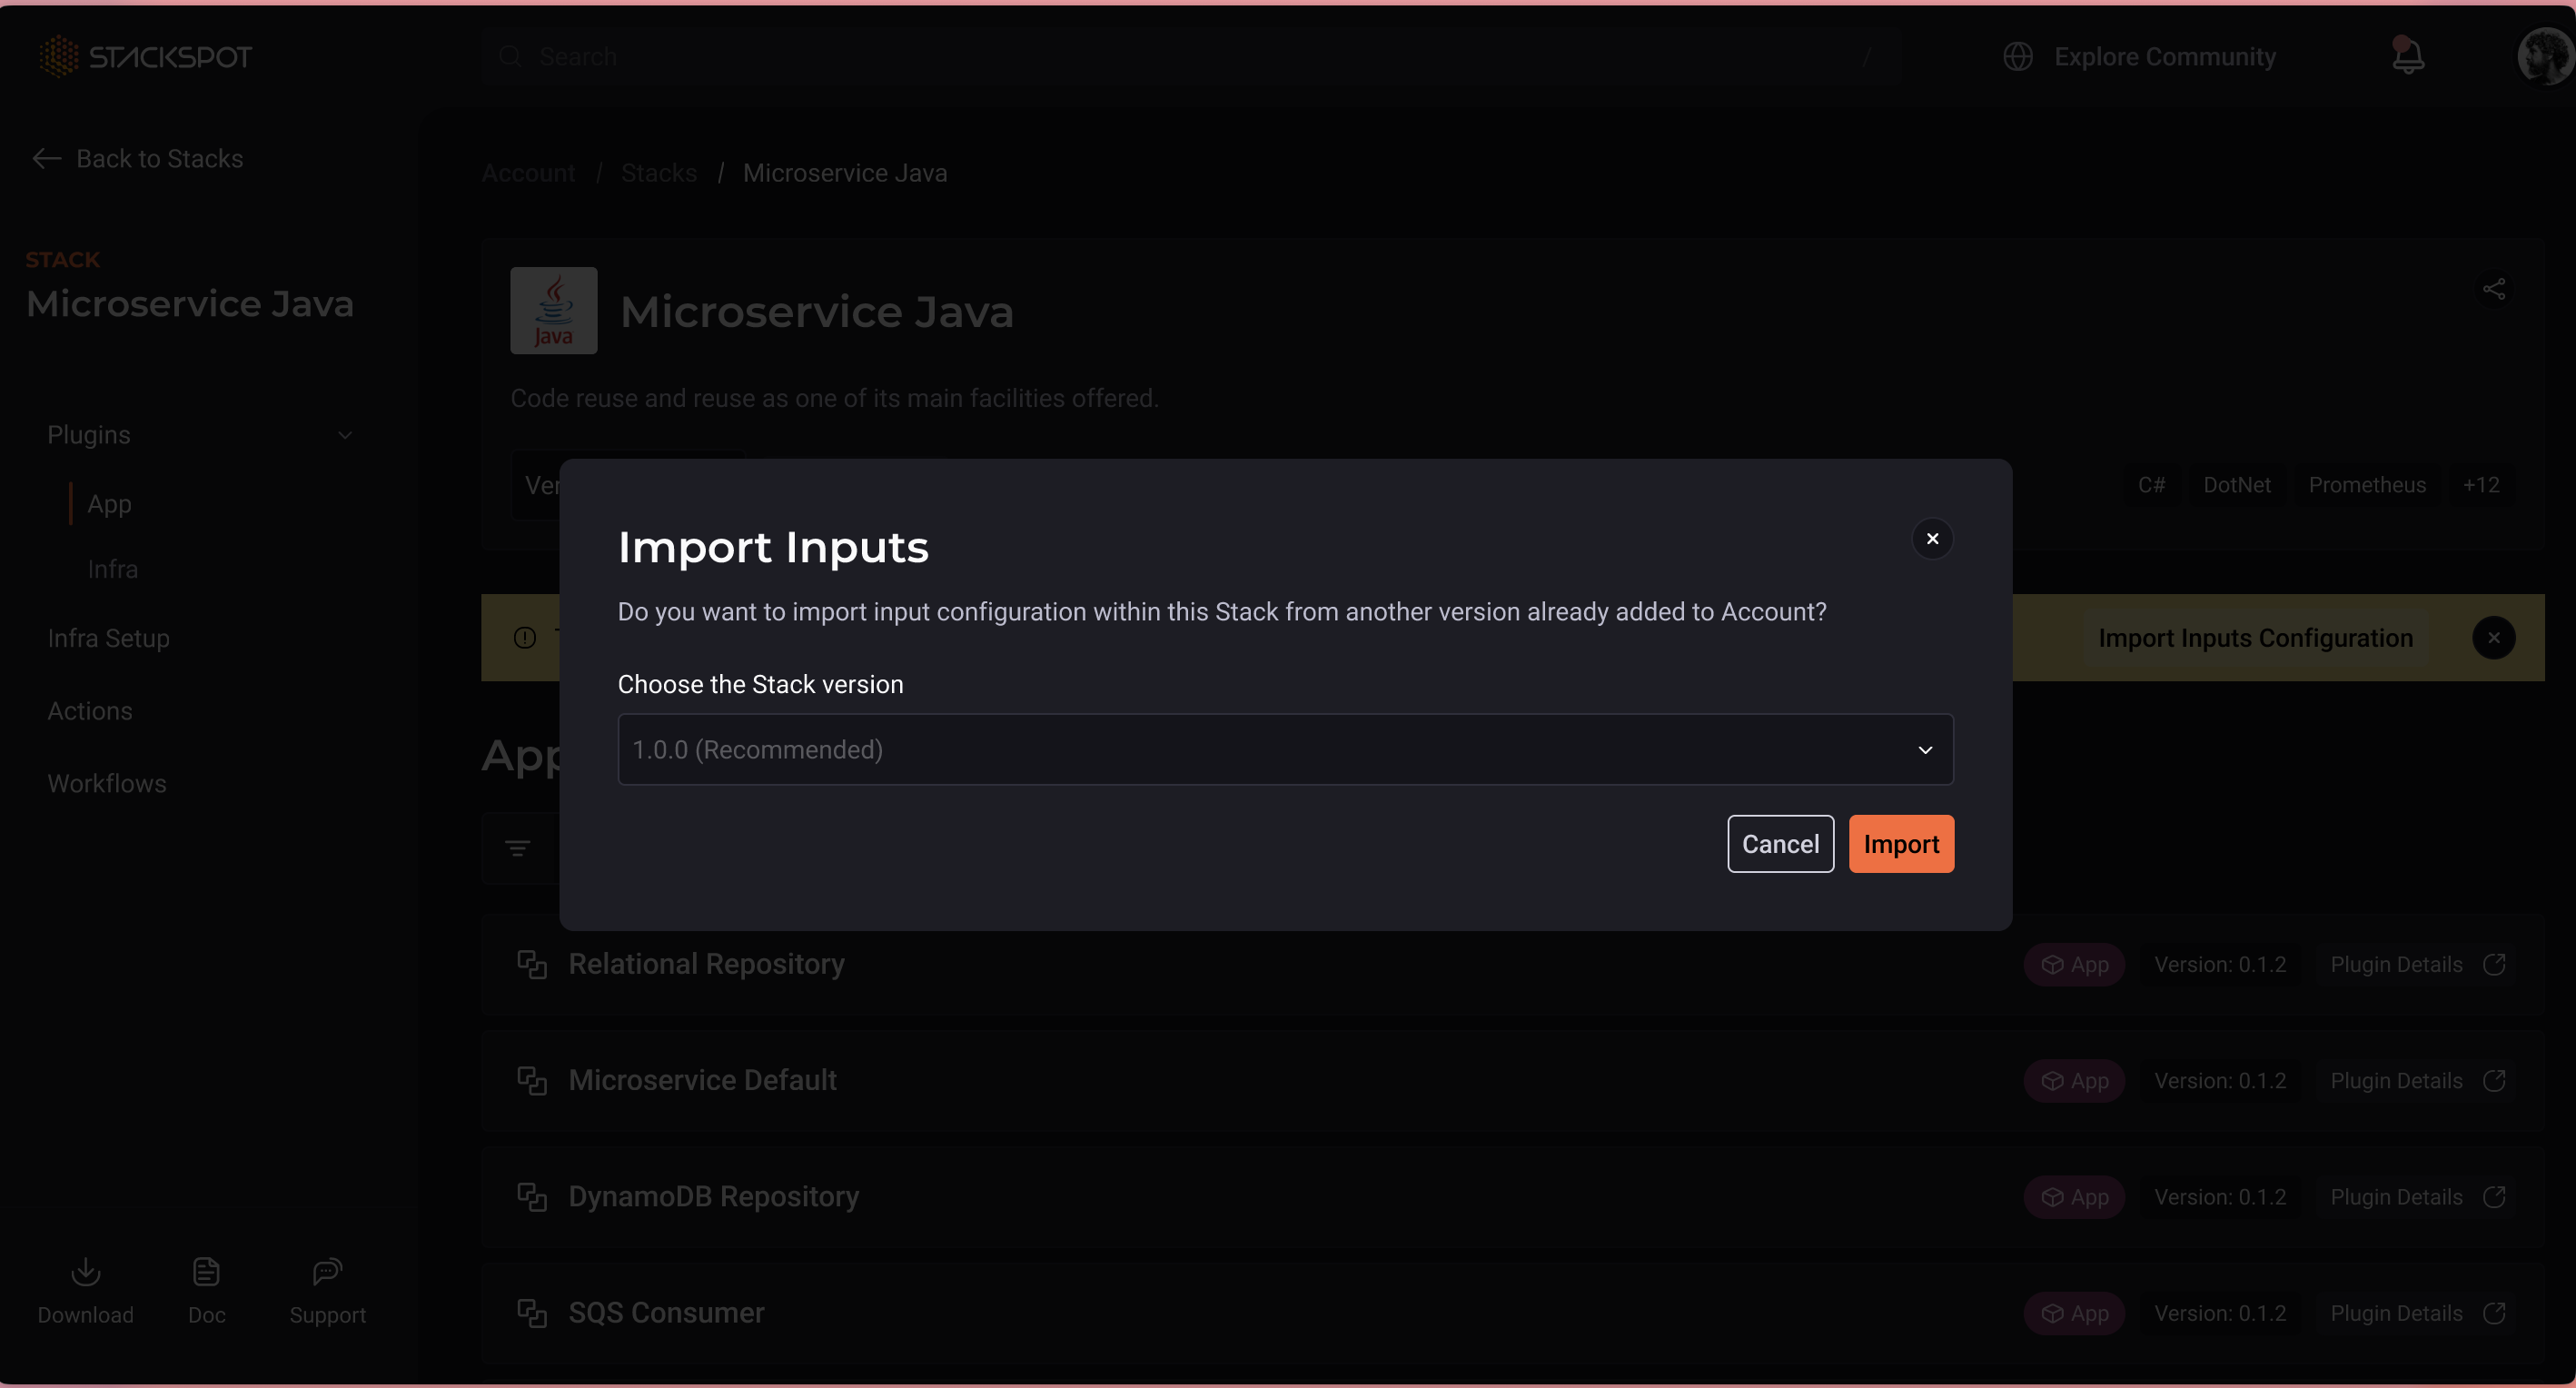
Done, you've imported Context from a previous Stack version. Now you can configure whatever else is needed.