Links on a Workspace
In this section, you will learn how to add links to Workspaces.
You can integrate external tools into a Workspace with Links.
You can add two types of links on the Workspace:
-
Static Links: A static link appears at the top of the Workspace dashboard and redirects the user to their URL. The static links added to your Workspace are also available in all Applications and Infrastructures.
-
Embedded Links: You have the ability to augment your Workspace with external links, envisioning them as panels that provide easy access to tools such as Grafana, Prometheus, Splunk, and more.
Here are the steps for adding each type of link to your Workspace:
How to add static links to a Workspace
Go to the StackSpot Platform to perform the next steps.
Follow the steps below to add Links to your Workspace:
Step 1. In your account, access the Workspace you want to add a Link to;
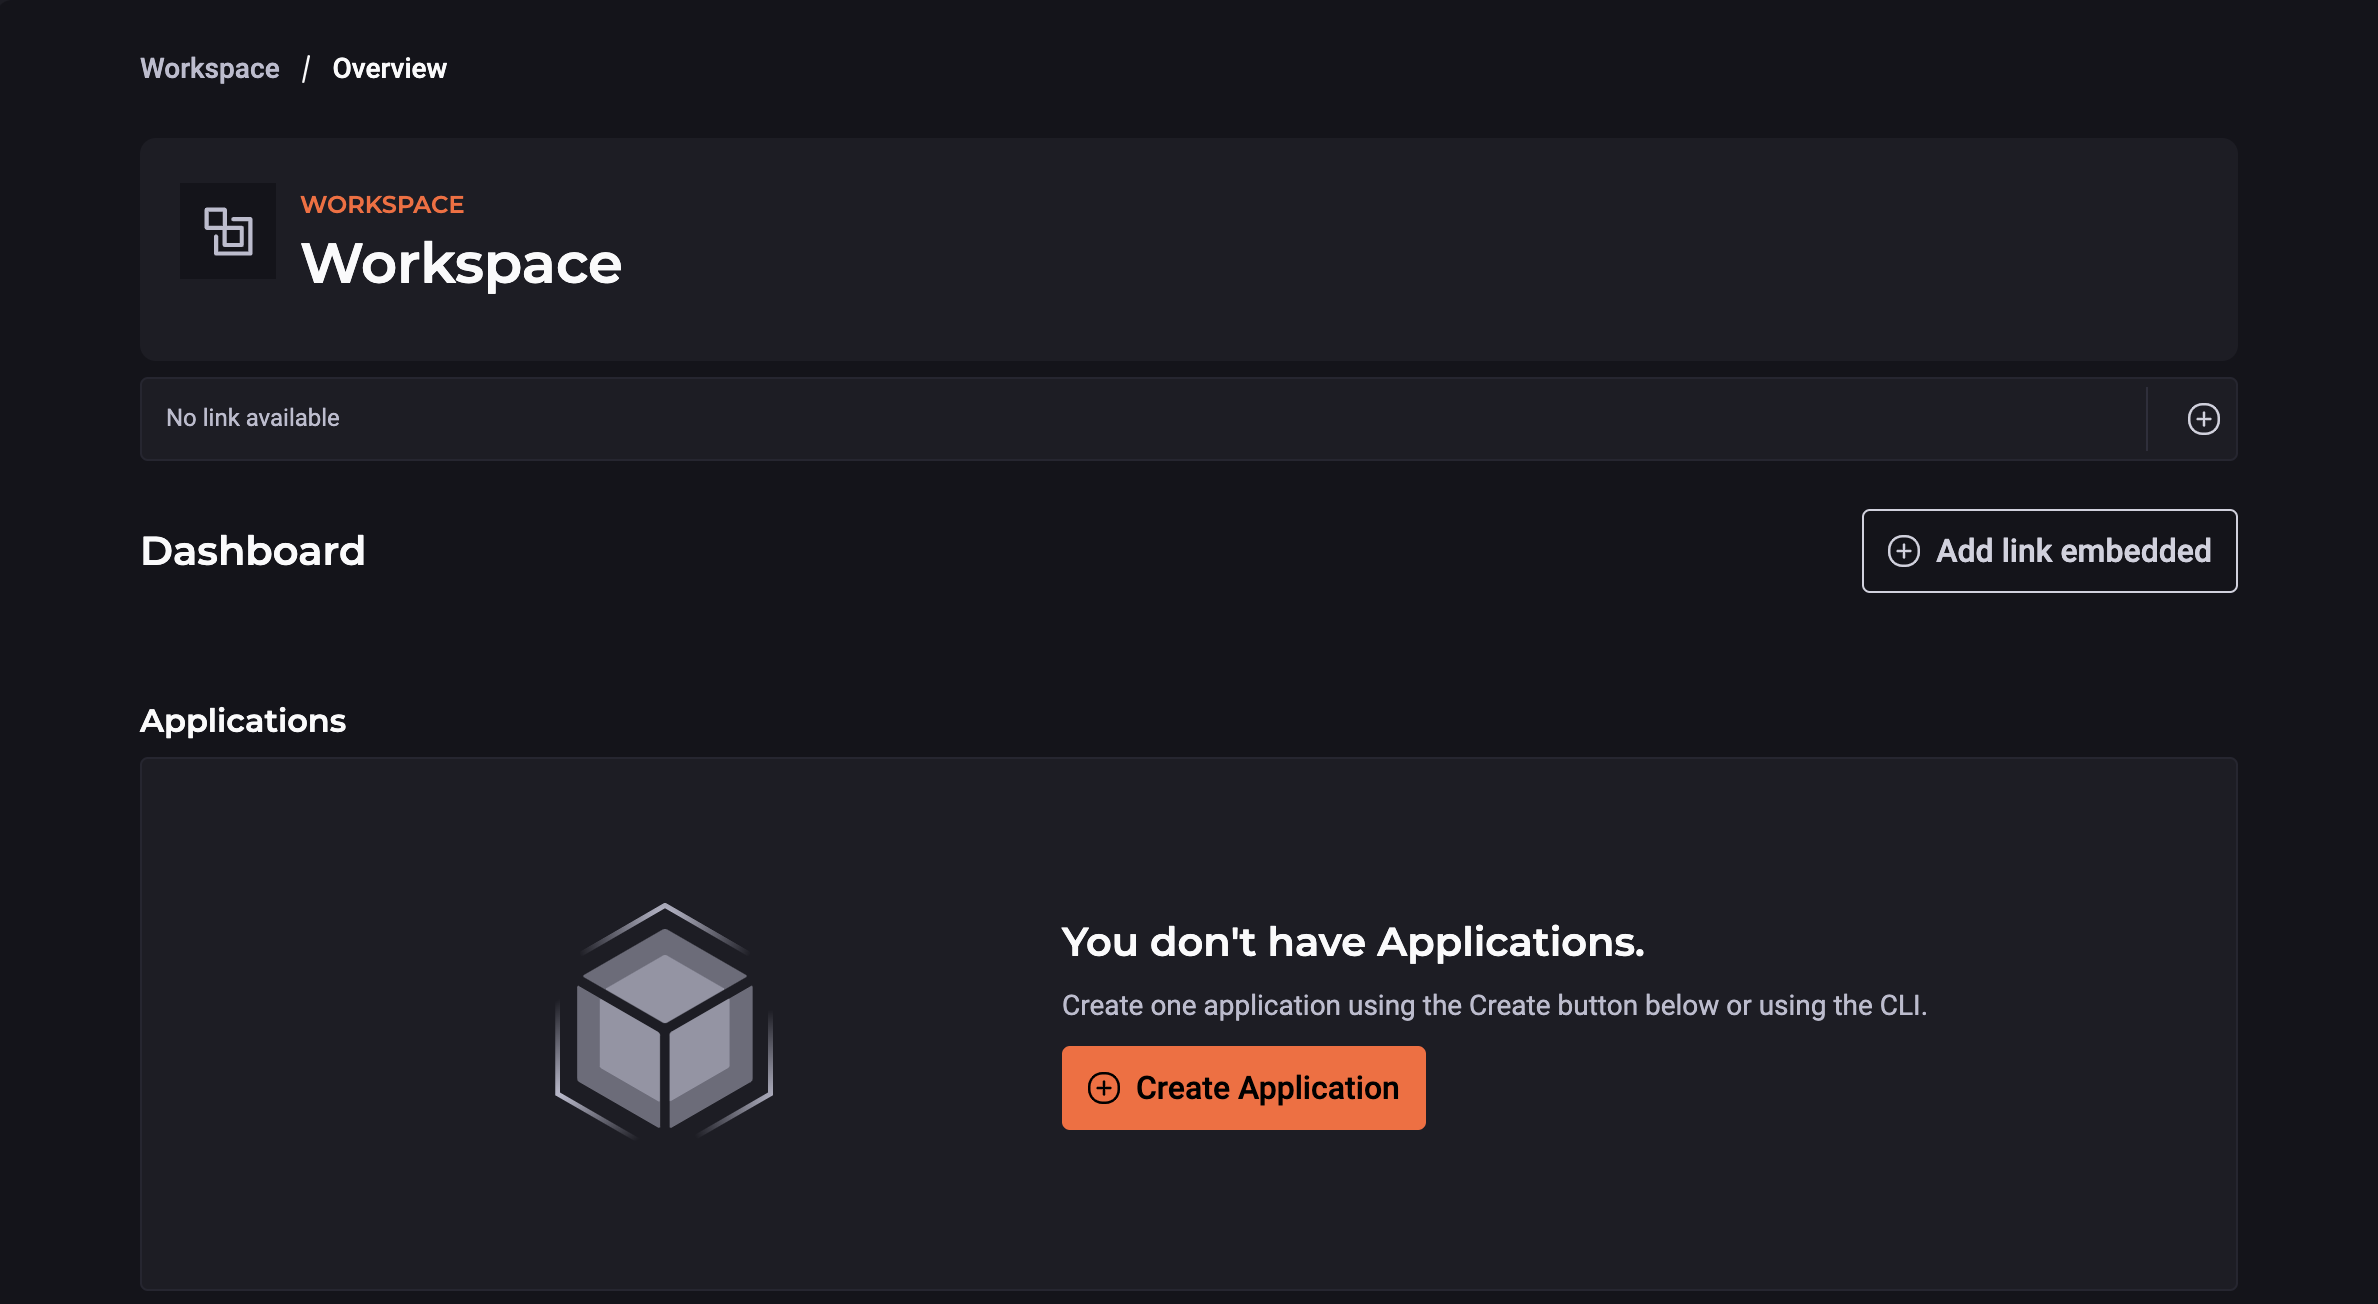
Step 2. In the Workspace Dashboard, in the bar below the Application name, click on the button on the right with the Add symbol;
Step 3: Fill out the fields, here's an example:
- 'Link name': Service Now;
- 'URL':
https://www.servicenow.com.br; - Logo: Add an image. Optional.
Step 4: Click on the 'Add link' button.
You've added a Link to your Workspace.
How to delete a Link added to your Workspace
Follow the steps below:
Step 1. In your Workspace Dashboard, right-click the Link you want to delete.
Step 2. A selector with options to 'Copy the link' or 'Delete the link' should appear. Click Delete.
- You cannot edit a link. If you need to change one, first delete it and then add a new one.
How to add an embedded link in a Workspace

Follow the instructions below:
-
Access your Workspace on StackSpot Platform;
-
On the Dashboard, click on the ‘Add embedded link’ button;
On the screen, add:
- Link Name: Required
- URL Link: Required
Make sure to add a link that will be rendered in an iframe.
- Link logo (Optional)
Now the links are available to the users of this Workspace.
To edit or remove a link, on the right side of the screen, click on the 'More Option' button, then make your changes.