Create StackSpot EDP's Extensions
In this section, you will find the steps to create and publish your Extension in StackSpot EDP.
Introduction
In the StackSpot's context, an Extension allows you to create a new page within the StackSpot EDP Portal. The Extension streamlines integration with other tools, providing a centralized and personalized experience for developers.
-
The developer is fully responsible for implementing and managing the Extension.
-
If StackSpot identifies a security incident in an Extension, StackSpot may deactivate it at any time.
Basic Concepts
Extension: A React page available within the StackSpot EDP Portal that can communicate with your organization's APIs or external APIs.
Main attributes:
-
Creators: Content Creators or other users with creation permissions.
-
Users: Developers or end users in your organization (no permission required).
-
Activated or Deactivated: visibility status of the Extension in the StackSpot EDP Portal.
- Activated: visible to end users (developers);
- Deactivated: no end user (developer) can see or access it.
-
Publishing: Extensions can be updated by creators, so you can publish new versions of Extensions via the EDP Portal or CLI;
-
Visibility level: Extensions are used in different areas of the EDP Portal.
- Organization: Extensions at this level are accessible on all pages of the EDP Portal.
- Workspace: Extensions are available within all Workspaces.
- Workflow: Extensions are used after Workflow inputs have been used in the EDP Portal.
- Application: Extensions are available within all Applications.
- Multi-level: Extensions can be present across more than one level simultaneously.
Prerequisite
Permissions
You need the following permissions to manage Extensions in the EDP Portal and StackSpot CLI.
-
create: create a new Extension to use in the EDP Portal;
-
view: view the list of Extensions at
myaccount.stackspot.com/account/extensions; -
update:
- activate/deactivate a published Extension via the Portal;
- publish new versions of the same Extension via Portal or CLI;
- edit name, description, and visibility Level via Portal;
-
delete: remove a published Extension from the EDP Portal.
The permissions listed above are for managing the Extension: creating, editing, publishing a new version, and deleting. Users who will use the Extension do not require these permissions.
Create Extension: local project, testing, and publishing in the EDP Portal
Local project and testing
Step 1. Clone the repository with the Extension's base code:
git clone https://github.com/stack-spot/edp-extension-sample.git
The base code is a boilerplate (starter structure) for you to create your Extension. It contains all libraries needed for local development and testing.
Step 2. Run the Extension locally. In the root folder of the Extension, run:
pnpm start
Step 3. Develop, test, and preview your Extension:
-
To see changes and preview an Extension that does not depend on StackSpot APIs, just use the
pnpm startcommand; -
If your Extension needs to consume StackSpot EDP resources such as Studios and Workspaces:
- See how to make requests to our API in our SDK documentation at https://www.npmjs.com/package/@stack-spot/portal-extension?activeTab=readme under “Performing network requests to the StackSpot API”
- Use pnpm preview to preview the experience locally – see the Previewing an extension section in our SDK documentation at https://www.npmjs.com/package/@stack-spot/portal-extension?activeTab=readme
Publish Extension
Via StackSpot EDP Portal
Required permissions: create, view.
Step 1. Go to the StackSpot Account Portal and then click on the ‘Organization’ menu.
- If you do not see this option, you do not have the required permissions
Step 2. In the ’StackSpot EDP’ section, go to the ’Extensions’ subsection;
Step 3. Click on the ’Create extensions' button;
Step 4. Fill in the following fields:
-
Name: A slug is suggested when you fill in the name field. If you want to change the slug, click the ’Edit' button.
-
Level: Choose between Organization, Workspace, Application, Workflow, or Multiple levels.
-
Description: This field is optional.
-
File: Attach the .zip file generated by running pnpm build in your extension project root.
Step 5. Click on the ’Create’ button.

Via StackSpot CLI
Required permissions: create.
In the root folder of an Extension published in the StackSpot Portal, follow these steps:
Step 1. Run the following command to generate the dist folder in your project root:
pnpm build
Step 2. Create a configuration file for your Extension named extension.yaml in your project root and fill out the fields, see below:
- metadata:
- name: add the same slug (registered name) as your Extension published in the StackSpot EDP Portal;
- description: add text describing your Extension’s purpose. Write this text in double quotes;
- display-name: write the same name as shown for your Extension in the StackSpot EDP Portal.
- spec:
- level: specify where your Extension will be available. Accepted options:
organization,workspace,workflow, andapplication. - path: path to your compiled project folder ready for use. By default, this is the previously generated root folder named
dist.
- level: specify where your Extension will be available. Accepted options:
Example:
schema-version: v1
kind: extension
metadata:
  name: pin-generator-lzm-teste      	# exactly same slug of the Extension created previously on EDP Portal
  description: "Describe your extension explaining its purpose."
  display-name: pin-generator-lzm-teste
spec:
  level: organization      			#other options: workspace / workflow / application
  path: dist      				# folder generated by the pnpm build command
Step 3. Use the stk publish extension command in your Extension project root:
stk publish extension
View Extensions
Required permissions: view.
To view all Extensions you have permission for, go to https://myaccount.stackspot.com/account/extensions
Update an Extension
Upload a new version of an Extension, activate/deactivate it, and edit its details.
Required permissions
- create
- view
- update
Update Extension via EDP Portal
Step 1. Go to the Extensions page in StackSpot EDP Portal;
Step 2. Locate your extension and carry out the desired action:
- Upload new version: attach the ".zip" file generated by running pnpm build in your Extension project root;
- Activate or Deactivate its visibility in the EDP Portal;
- Edit details (name, description) and change its visibility Level.
Update Extension via StackSpot CLI
Step 1. Log in to CLI with:
stk login
Step 2. Go to your project root folder and make changes to your project and to the extension.yaml file as needed:
- metadata:
- name: Use the same slug (registered name) as your Extension published in the StackSpot EDP Portal.
- description: Provide a brief description of your Extension’s purpose. Please enclose this text in double quotes.
- display-name: Enter the same name displayed for your Extension in the StackSpot EDP Portal.
- spec:
- level: Indicate where your Extension will be available. Accepted options are
organization,workspace,workflow, andapplication. - path: Specify the path to your compiled project folder that is ready for use. By default, this should be the previously generated root folder named
dist.
- level: Indicate where your Extension will be available. Accepted options are
Step 3. Save the file and run this command from your project root to publish your Extension:
stk publish extension
The updated Extension with its latest version will be sent to StackSpot EDP Portal.
Remove an Extension
You can remove an Extension, but all its versions will also be removed from StackSpot EDP. To do this, follow these steps:
Step 1. In the row of the Extension you want to remove, click on the icon that shows more options;
Step 2. To confirm removal, click the ’OK' button.
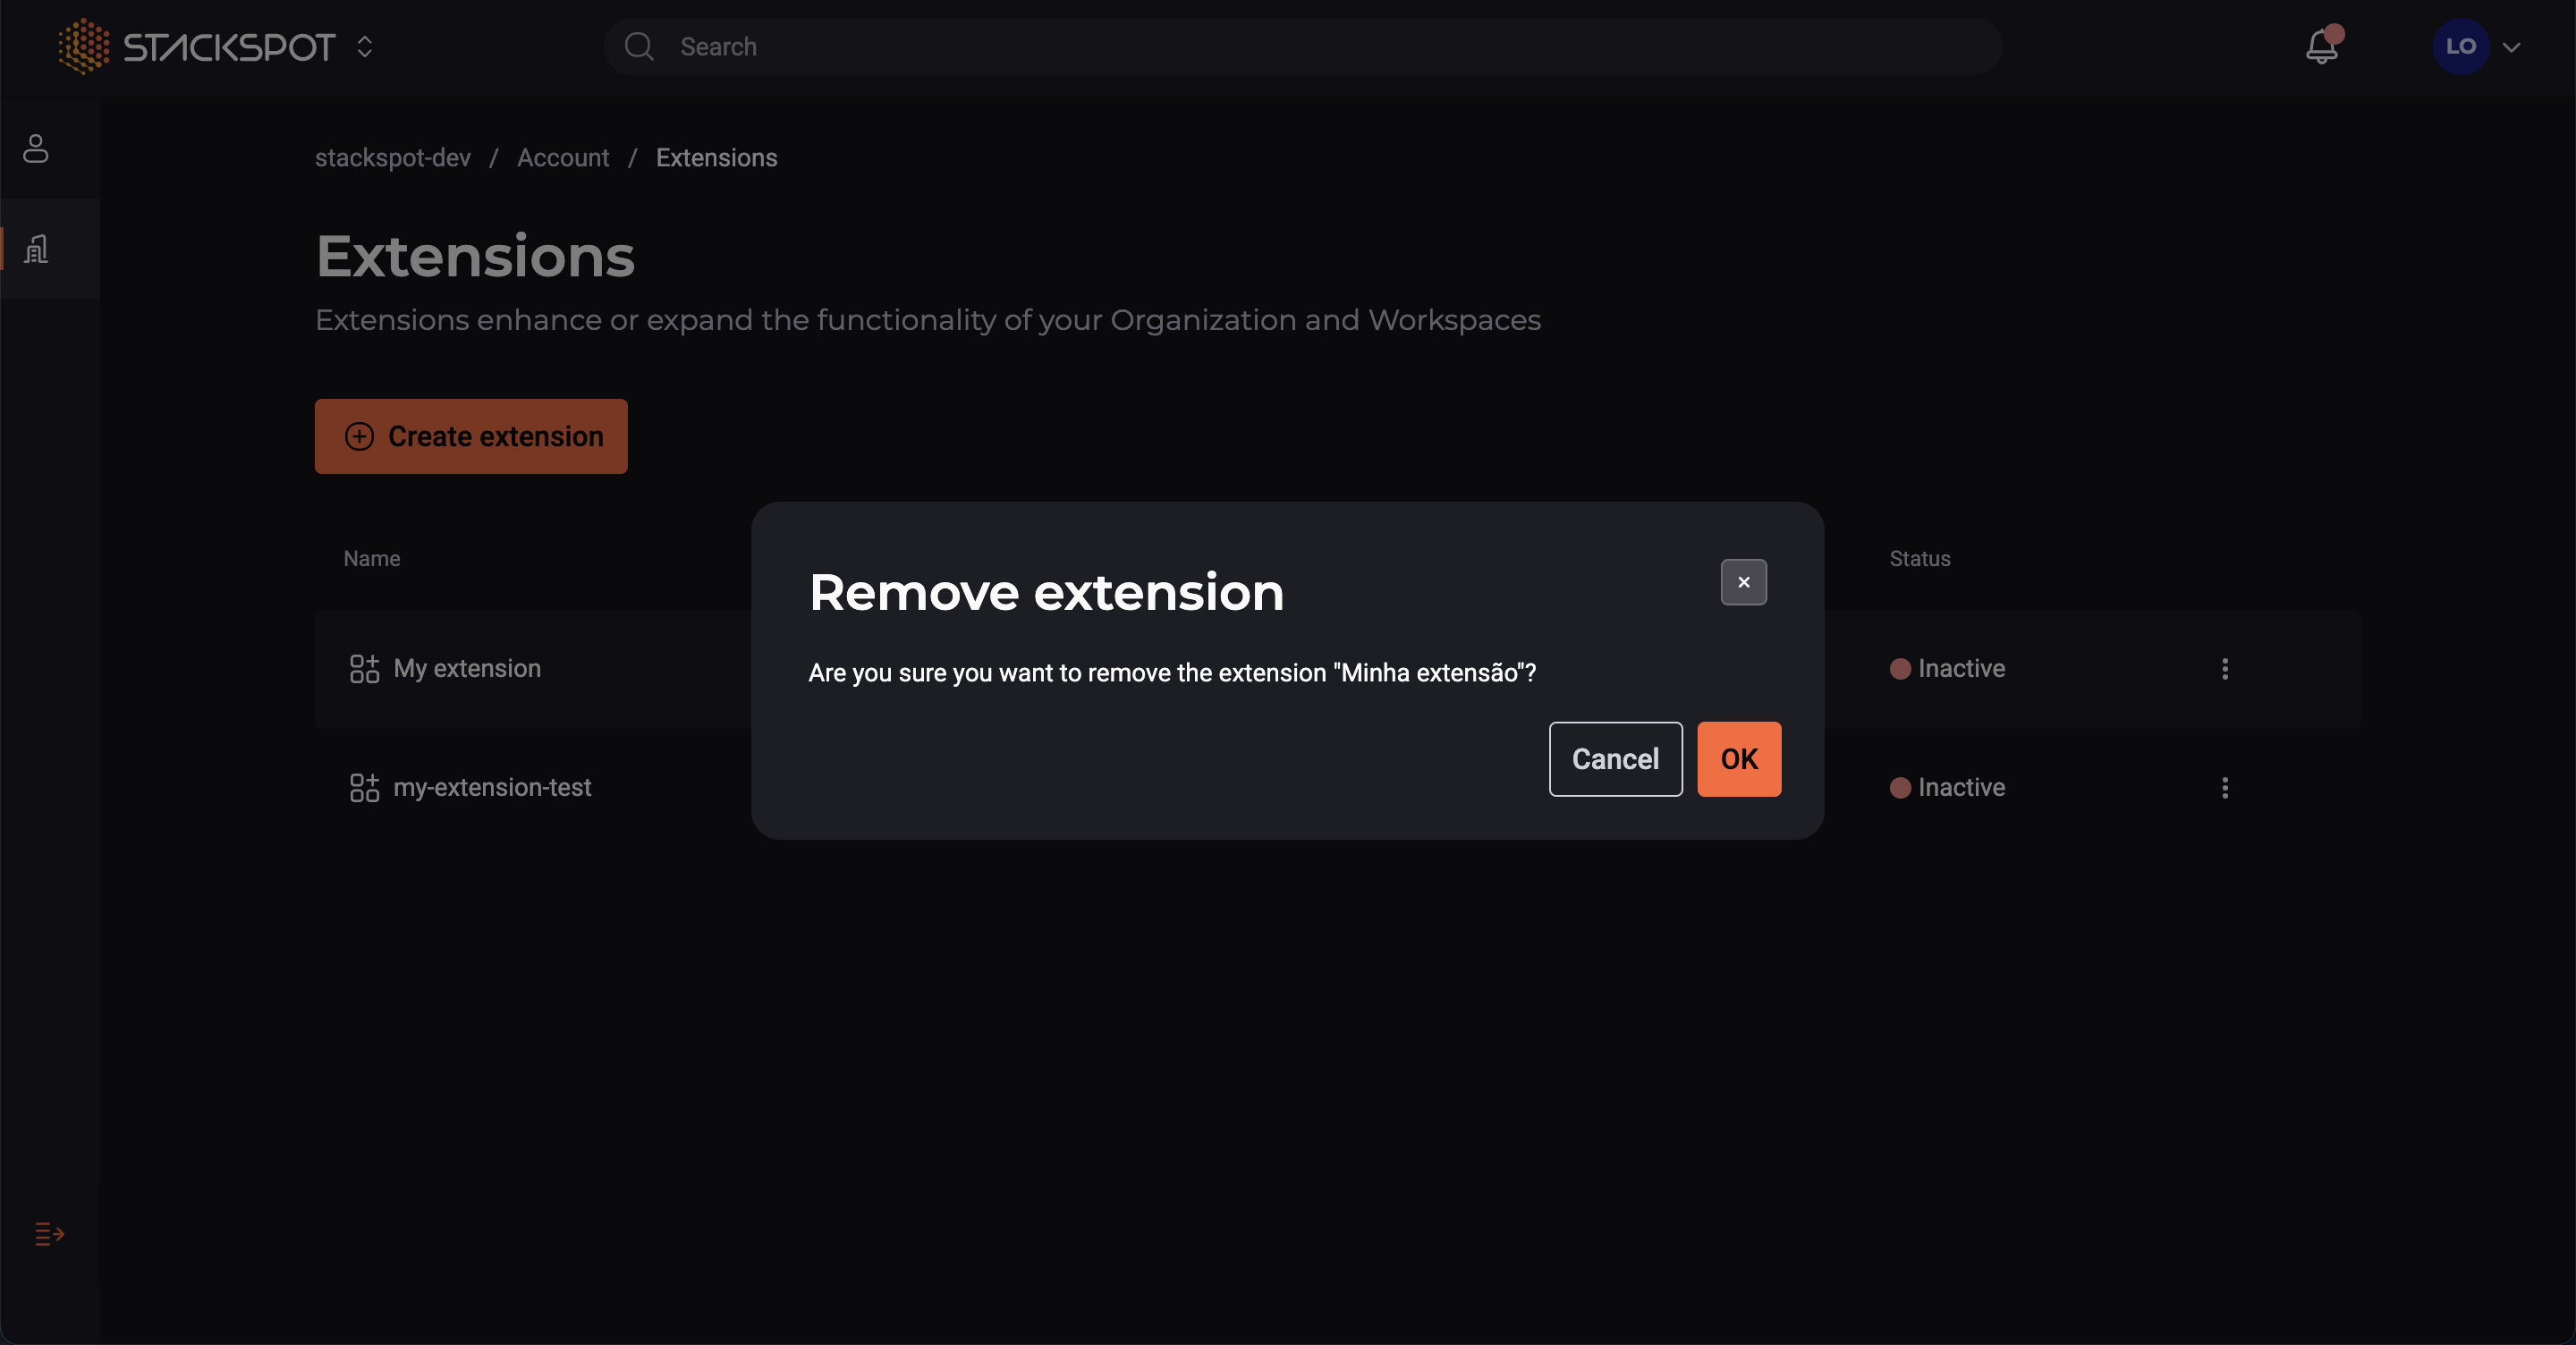
Done! You have removed an Extension from the Portal.